This is what the room looked like when we started. The crib and
changing table were bought at Walmart as a set for $179.00, and the
swing was given to Alishia by a friend.
The wall color is New Violet by Behr. Alishia loves this color. It looks pink and or purple depending on its surroundings and light.
This is my friend Alishia Owens, for her baby shower gift I have decided to create and decorate a nursery for her. To see her blog page click
here.
DAY 1
SHOPPING LIST!!
From the Dollar Tree:
- 3 white baskets
- Car sponge
- Glue sticks
- Paint brushes
- Decorative decals (Will label as progress continues)
- See through white ribbon
- Solid black ribbon
Grand total: $12.82
From Home Depot:
- Frog Tape
- Handi Painter
- Touch Up Pad (Shur Line)
- Mini Roller Kit
- Scotland Isle and Black Suede Behr paint samples
Grand Total: $22.26
Michaels
- Sticker Gems
- 3 Daisy Clips
- Scrapbook paper (green butterfly)
Grand Total: $13.80
Overall Grand Total: $48.88
BASKETS
Before:
First I colored the sheer white ribbon with a black paint pen that I previously bought.
Then I took the ribbon and wove it through the holes in the basket.
After that I attached the daisy clip to the front of the basket over the knot.
Final Product! Decorative holders to be used for toys, diapers, wipes, and bath gear.
BUTTERFLY PLAQUE:
I used a scrap piece of wood, penny nails, paper, hot glue, and a
sharpie. I found a different version of this on line and decided to put a little of my own personality into it. I had already assembled this before heading to Alishias' for the week. This
is how it looked when I arrived.
Together Alishia and I painted the board Scotland Isle Green and added a butterfly made
out of green scrapbook paper (the polka dots were originally white, but I decided to color them with the black paint pen).
We then added a decorative decal (from the dollar tree) that says "In a world where you can be anything, Be yourself."
The
paint is the same color, just different lighting. I colored more
of the same ribbon from the baskets and made a hanger for the plaque.
WALL BORDER:
The
wall was the new violet color before we started (courtesy of Alishias' first child) First, we used the Frog Tape and taped off a 7 inch (top to
bottom) "high" chair rail.
We then painted the chair rail white with the Shur Line and allowed it to dry.
I cut several different size circles out of the car sponge (two 2" circles, one
1.5" circle, and one 1" circle). We then dipped the 2" sponge into the
black suede paint and pressed, pushed and twisted the sponge onto the
white border.

After
letting the black dots dry, we used the 1.5" sponge and added the green
polka dots approximately 2' apart. (Don't worry, the edges do turn out
nicely! Loving Frog Tape right now)
After
the green dots dried, we used the 1" sponge and added left over New
Violet. We wanted these dots smaller so the violet would not be
overwhelming, but still tied in.
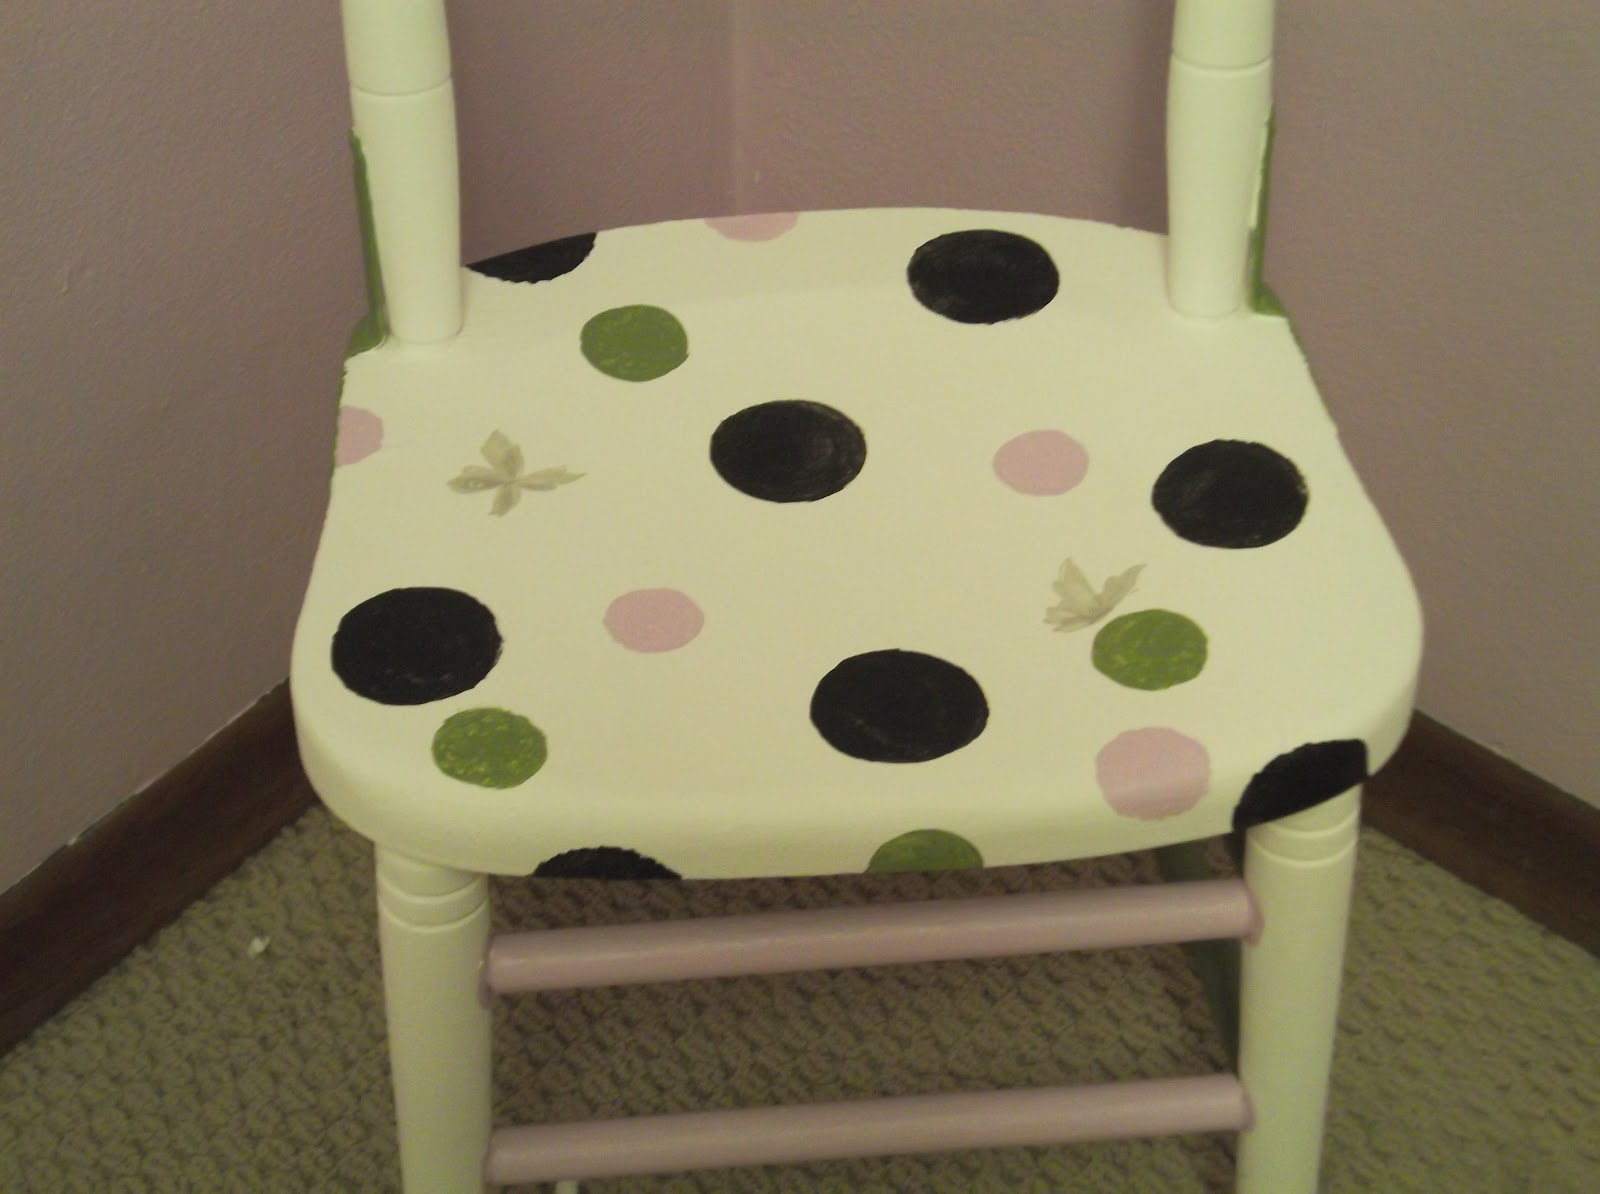
The princess sticker will be removed and placed in her older daughters' room. =)
I then taped off 1/2" below the top tape, and 1/2" above the bottom tape. I
was unable to get pics of this as I was taping the border and unfortunately do not have rubber stretchable arms.
After taping, I painted the 1/2" gap on the top and bottom with the black suede paint.
The sun went down so the lighting makes the room look pink in this photo.
After it dried, we peeled the tape off, being sure to pull toward the fresh paint.
We made butterflies out of construction paper and tissue paper that I had laying around from years ago.
The
very bottom layer is made of green rubber shelf liner that she also had
laying around. We used the glue sticks to glue them to the wall around
the chair rail. The glue sticks are used because it won't damage the
wall and can be removed later and the dried glue can be washed off with
warm water.
And the chair rail is now done. =)
THE ADDITION OF THE PLAQUE:
We
used a white screw in hook that came in a kit that I already had bought
at the Dollar Tree months ago. We placed the plaque mid way between the
chair rail.
Day one was a total success!! We got a lot accomplished, and this only took about 5 hours to complete.
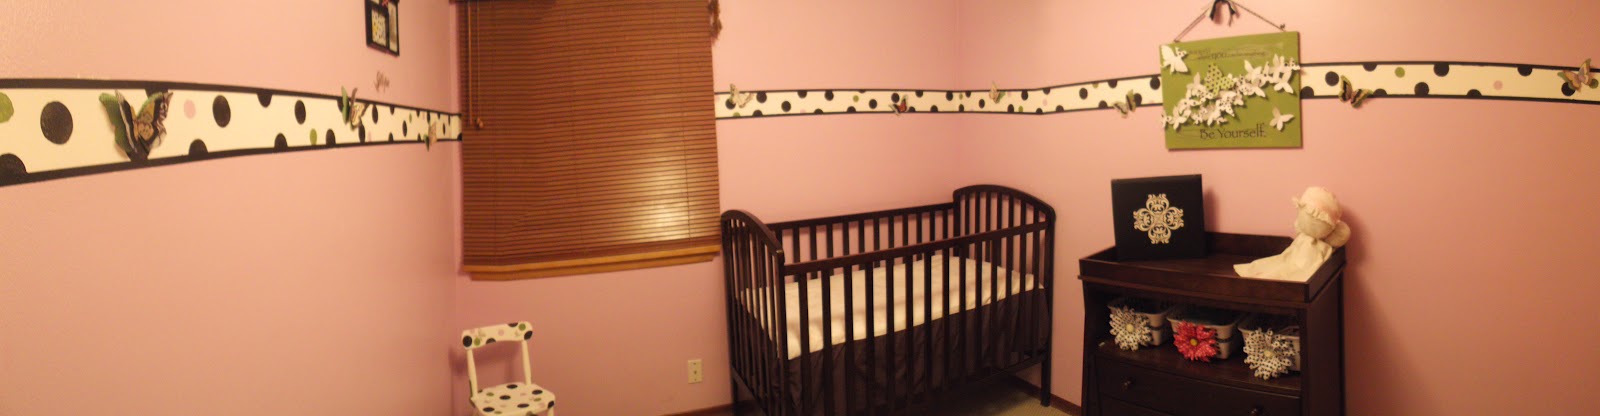
HERE'S THE PANORAMIC VIEW:
With
an hour to kill, we put together some framed collages with two of the
three remaining decals. We drew out polka dots with a sharpie on plain
computer paper that Alishia already had on hand. We then stuck the butterflies on top of
the plain computer paper and the polka dot paper. I hot glued
handmade bows onto the center of the frames to incorporate the New
Violet color.


